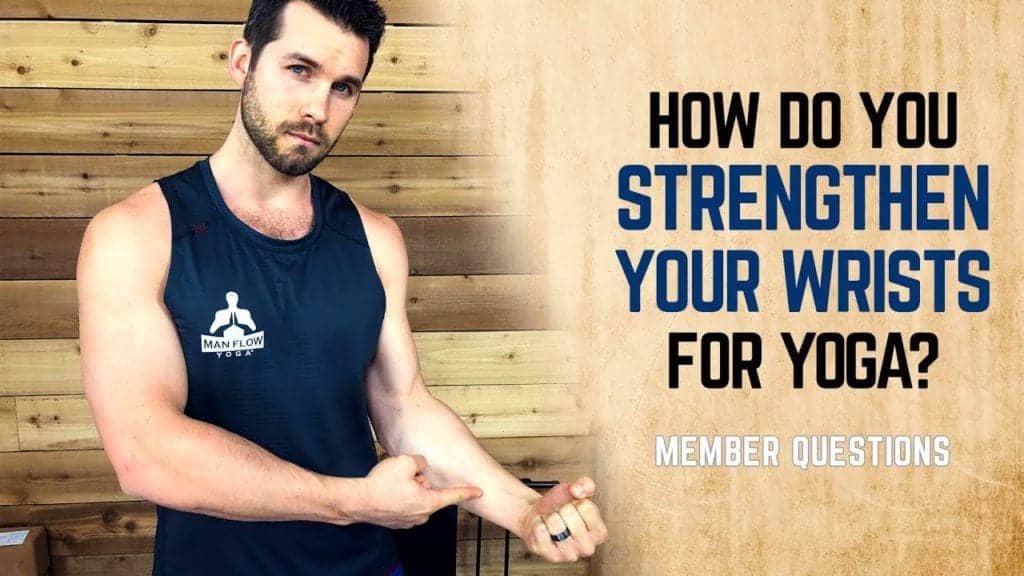
If you’ve ever had wrist pain during yoga, you’re not alone. Yoga wrist pain is actually a common occurrence.
Even as a yoga instructor, I’ve suffered some instances of wrist pain. But the thing that helped me eliminate wrist pain for good is properly strengthening my wrist and forearms to handle the load of my body.
That’s why I’m showing you today! My 5-best exercises for preventing, rehabbing, and fixing wrist pain.
Wrist Pain And Yoga
The main reason you develop wrist pain from doing yoga is because yoga is very repetitive for your wrist. The most common position for your wrist in yoga is extension (fingers reaching backward), meaning that you’re constantly bearing weight down in that wrist position in your downdogs, planks, and any other grounded pose – resulting in dorsal wrist pain.
Without properly strengthening your wrists for this position and also working the antagonist positions for your wrists, you’ll most likely develop an imbalance or weakness which causes wrist pain.
To fix this you have to do NON-yoga exercises to develop the strength and mobility of your wrists.
How Does The Wrist Work?
The wrist is a pretty complicated joint with a very large range of motion. To achieve this range of motion, there are ten bones connect to your wrist joint.
You have 8 bones coming from the hand (carpals) and two bones coming from the forearm – the radius on the thumb side & the ulna on the pinky side.
These structures along with ligaments aren’t very good at quickly adapting to strenuous repetitive exercise. That’s why wrist injuries such as sprains and bone stress fractures are so common among yogis, especially those that quickly jump into handstand practices.
However, that doesn’t mean that the wrist can’t be trained to be strong and resilient. It just requires consistent and slow strength training.
My 5 Best Exercises for Wrist Pain
Use these wrist exercises to complement your yoga routines, achieve balanced strength and mobility in your wrists, and prevent injury in your wrists.
You don’t have to wait until your wrist pain goes away to do these. The sooner you can start doing these – as long as you don’t experience pain while doing them – the sooner your wrist pain symptoms will start to go away.
If you’d rather read about the exercises here they are.
Wrist Curls
Technique:
- Assume either a seated or kneeling position with your forearms resting on a flat surface.
- Hang your wrist off the flat surface with your palm facing upward.
- Grab a dumbbell or similar weight with your palm facing upward.
- Let the weight rest on your fingers.
- Exhale and curl the weight upward as far as possible.
- Focus on isolating the wrist and forearm.
- Inhale and slowly let the weight go back to its starting position.
- Repeat
Sets: 3×15
Note: This exercise can be done with both wrists at the same time, but for beginners, it’s recommended you start with only one to focus on isolation.
Reverse Wrist Curls
Technique:
- Assume either a seated or kneeling position with your forearms resting on a flat surface.
- Hang your wrist off the flat surface with your palm facing downward.
- Grab a dumbbell or similar weight with your palm facing downward.
- Firmly grasp the weight.
- Exhale and curl the weight upward as far as possible.
- Focus on isolating the wrist and forearm.
- Inhale and slowly let the weight go back to its starting position.
- Repeat
Sets: 3×15
Note: This exercise can be done with both wrists at the same time, but for beginners, it’s recommended you start with only one to focus on isolation.
Looking For A Program?
If you’re interested in starting a yoga program with Man Flow Yoga to gain strength, flexibility, and mobility, BUT don’t know where to start, we got you covered. Give our FREE 7-Day Challenge a try. Sign-up below!
Signup for the FREE 7-Day Challenge
Radial Deviation Curls
Technique:
- Assume either a seated or kneeling position with your forearms resting on a flat surface.
- Hang your wrist off the flat surface and rotate your forearm like you’re holding a hammer. (Think thumbs-up position without actually pointing your thumb)
- Grab a dumbbell or similar weight in this hammer holding position.
- Firmly grasp the weight.
- Exhale and curl the weight upward as far as possible.
- Focus on isolating the wrist and forearm.
- Inhale and slowly let the weight go back to its starting position.
- Repeat
Sets: 3×15
Note: This exercise can be done with both wrists at the same time, but for beginners, it’s recommended you start with only one to focus on isolation.
Ulnar Deviation Curls
Technique:
- Assume either a seated or kneeling position with your forearms resting on a flat surface.
- Hang BOTH your wrist off the flat surface with your palms facing downwards. (Think I’m riding a bicycle)
- Firmly grasp a resistance band in both hands.
- There should already be some tension in the band.
- Exhale and extend your wrist outwards towards your pinkies.
- Focus on isolating the wrist and forearm.
- Inhale and slowly let your hands go back to their resting positions.
- Repeat
Sets: 3×15
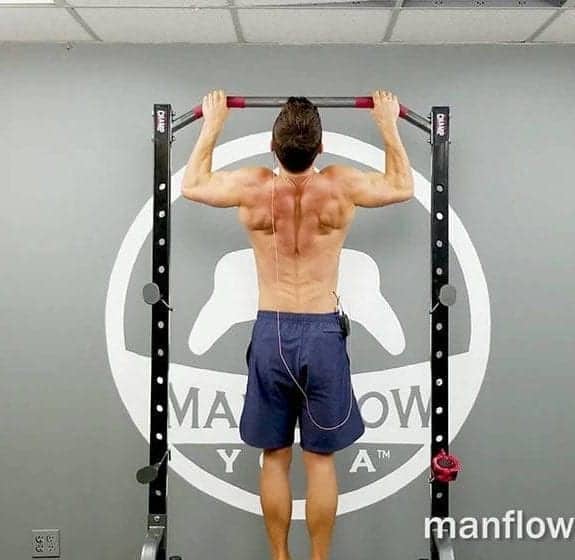
Working Your Grip Strength
Working on your grip strength is something that yogis don’t often do, but it’s extremely beneficial to your wrist health. There are a few very simple exercises that I personally do including:
- Farmer’s Carry – Grab a pair of dumbbells that are comfortable for you and walk back and forth. Remember to keep your core tight and your back straight to avoid injuring your back.
- Hanging from A Pull-Up Bar – Find a pull-up bar and firmly grasp it while slowly letting yourself hang from it. If you want some added engagement for your shoulders, go into an active hang – bringing your shoulder blades down and together (your shoulders should get farther from your ears).
Note: Aim for a 30-second hold or hang and slowly work your way up to longer hold times.
Final Thoughts
Fixing wrist pain from yoga or in general doesn’t have to be strenuous. Doing these few exercises 3x a week for 10-15 minutes is all you need to have strong pain-free wrists.
If you’re trying to master poses like crow or handstands, these exercises are essential in maintaining your wrist health, so remember to keep doing them.
I hope this blog helped you out!
See you on the next workout,
Dean.
Additional Resources
About the author, Dean Pohlman, Founder & CEO of Man Flow Yoga, Author of Yoga Fitness for Men, Expert on Yoga Fitness for Men.

Looking for non-spiritual, yoga for men workouts?
Learn More About Man Flow Yoga and how it can help you with your fitness goals:
 Join Today for Instant Access!

Wow! Thanks for posting these exercises for free. You’re doing God’s work. – Gustavo Woltmann
We’re happy to offer some free resources. Be sure to check out our YouTube Channel as well:
https://youtube.com/manflowyoga