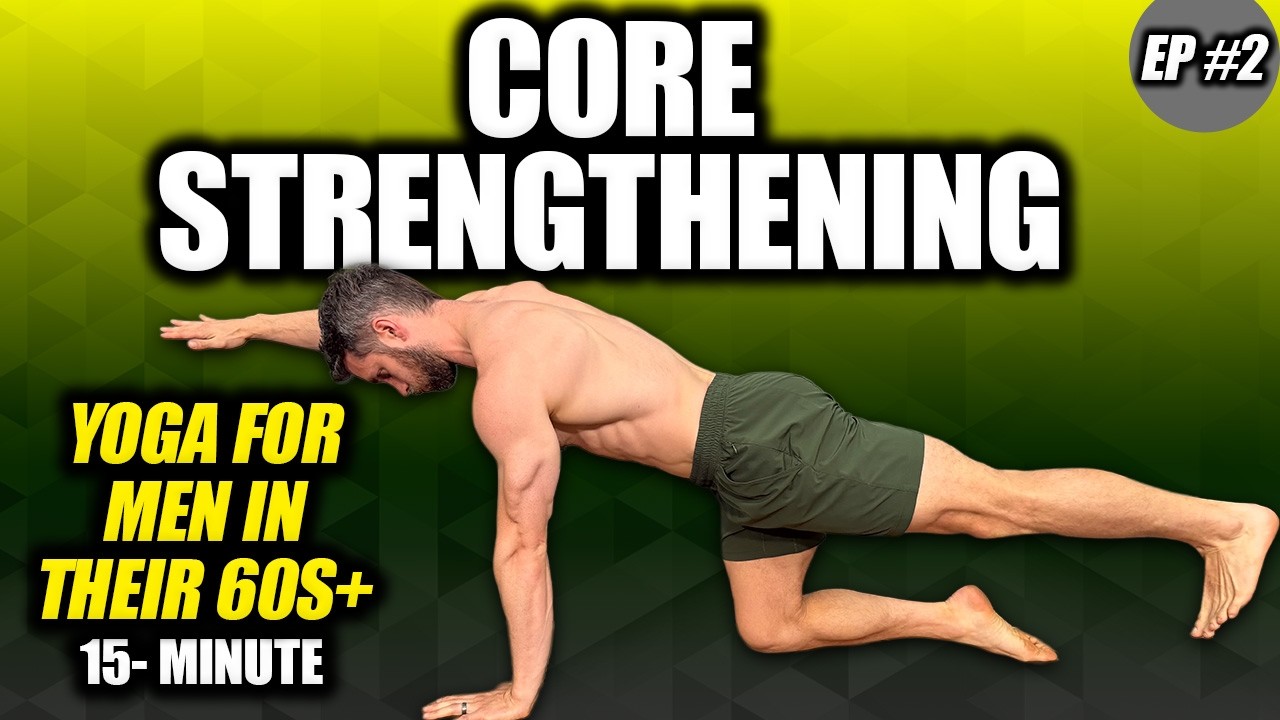
As we get older, maintaining a strong core becomes less about getting six-pack abs and more about protecting our bodies. A resilient midsection is your best defense against common issues like chronic lower back pain, poor posture, and anterior pelvic tilt.
However, traditional core workouts can sometimes be brutal on your joints.
The good news? You don’t need high-impact movements to build serious core stability. This joint-friendly, no-impact routine is specifically built for men in their 60s. It’s beginner-friendly, but don’t mistake “beginner” for “easy”—your abs will be working within seconds.
Why Core Strength Matters More in Your 60s
When we talk about the core, we aren’t just talking about the stomach. Your core is your entire midsection, including your hips, glutes, obliques, and lower back.
A strong core acts as a built-in back brace. By activating these muscles correctly, you instantly relieve pressure on your lower back. While it might take a few sessions to build up your mind-muscle connection, consistency will quickly translate into less daily stiffness and greater active mobility.
Best of all? Studies show that our bodies can build muscle well into our 80s. If you are in your 60s, you have plenty of time to build a rock-solid foundation.
The 5-Step Joint-Friendly Core Routine
For this routine, you won’t need any special equipment—just a mat and a bit of space. Focus on your technique and remember to breathe slowly and smoothly throughout each movement.
1. Hands-to-Thighs Isometric Press
This exercise is fantastic for establishing baseline core activation right at the start of your workout.
- How to do it: Lie flat on your back. Bring your knees up directly over your hips, bending both your knees and hips at a 90-degree angle. Flex your toes back toward your shins.
- The Secret: Pull your belly button down toward the floor to completely seal off any space between your lower back and the ground. You shouldn’t be able to slide a hand underneath you.
- The Action: Lightly press your hands into your thighs while simultaneously pushing your thighs back into your hands.
- Duration: Hold this position for 30 seconds while keeping your chin tucked toward your throat to protect your neck.

2. The Hip Bridge (with Optional March)
Core strength includes the back of your midsection. The bridge targets the glutes and hips to help correct posture and pelvic alignment.
- How to do it: Plant your feet flat on the floor, hip-width distance apart, with the insides of your feet parallel. Press firmly through all five toes and your heels to drive your hips up toward the ceiling.
- The Secret: Ensure the lifting power comes entirely from your feet and glutes, not by arching your lower back.
- Progression: If you want a challenge, try a “bridge march” by lifting one foot slightly off the ground at a time, alternating sides. If your hamstrings start to cramp, simply keep both feet firmly planted.
- Duration: Hold for 30 to 40 seconds.
")
3. Single or Double Leg Reverse Crunches
This movement trains your lower abdominals while keeping the spine entirely supported by the floor.
- How to do it: Return to the starting position with your knees hovering over your hips.
- The Action: Slowly extend your left leg forward. To make it easier, keep your leg higher in the air; to make it harder, hover it closer to the ground. Pull the leg back in and switch sides.
- The Cheating Check: If your lower back arches off the floor as your leg extends, you are losing core engagement. Only extend your leg as far as you can while keeping your lower back glued to the ground.
- Progression: If you have advanced core strength, you can try extending both legs forward at the same time, slowly moving back and forth for roughly one minute.
Tip: Take a Windshield Wiper Break After finishing your crunches, keep your feet planted and gently rock your knees from side to side. These small “windshield wiper” motions are excellent for loosening up the lower back after intense abdominal work.

4. The Bird-Dog
Shifting over to a tabletop position on your hands and knees, the Bird Dog builds excellent cross-body core stability.
- How to do it: Start on all fours with your hands under your shoulders and knees under your hips. Reach your left arm straight forward (palm facing inward or down) and kick your right leg straight back.
- The Technique: Squeeze your upper back to keep your extended arm high, but keep your shoulders and hips level with the floor. Don’t let your dominant hip hike up higher than the other.
- The Secret: Look straight down at the ground to keep a neutral spine, and brace your abs as if you’re preparing for a light punch to the stomach.
- Duration: Hold for 30 seconds, release, and switch to the opposite arm and leg.

5. Cobra
The Cobra is a highly effective, low-impact spinal strengthening exercise that works wonders for reversing a rounded upper back.
- How to do it: Lie flat on your stomach. Reach your legs back as far as possible, point your toes, and “zipper” your legs together—squeezing your big toes, shins, and inner thighs toward one another.
- The Action: Engage your thighs so your knees naturally lift off the mat. Use your hands against the floor to gently pull your torso forward, lengthening your spine as you peel your chest just a few inches off the ground.
- Duration: Hold for 10 to 15 seconds while maintaining slow, controlled breathing.

How to Finish and Recover
After completing the Cobra, push your hips back toward your heels into a Child’s Pose. Keep your knees wide, big toes touching, and rest your forehead on the mat with your arms stretched straight ahead.
To maximize the lower back release in Child’s Pose, avoid completely passive stretching. Instead, gently engage your abs and hip flexors. This active range of motion supports the stretch and protects your lower back from accidental overstretching.
Add This to Your Routine
The beauty of this 15-minute core routine is its versatility. Because it is completely joint-friendly, you can use it as a standalone daily workout or as a core-activation warm-up before walking, running, or resistance training.
Don’t worry if you can only manage a few seconds of perfect form at first. Show up consistently a few times a week, and your abs will learn exactly what to do, unlocking better posture and lasting lower back relief.
Ready To Take the Next Step?
This routine is a solid starting point, but if you want lasting strength gains and pain relief, consistency with a structured program is what makes the difference.
Want full access to every program? Sign up for a Free 7-day trial of the Man Flow Yoga Members’ Area at https://manflowyoga.com/seven-day-trial/
Popular Blogs
How Long To Hold Yoga Poses: A Guide
One of the most common questions I get asked is “how long should I hold…
Yoga Vs Weight training: Which Is Better?
Yoga vs weight training – which is better? The answer is not as straightforward as…
How to Get Better Stronger Erections with Yoga: 5 Poses
Want to learn how to get stronger better erections with yoga? Use these 5 yoga…
Back Decompression at Home: A Comprehensive Guide
Are you looking for stretches for back or spinal decompression to help alleviate back pain?…
My 3 Month Bulking Results: Habits, Diet, Exercise, Sleep, & Overall Takeaways
A Comprehensive Account of My 3-Month Bulking Experience & The Results It’s been just over…
4 Strategies On How to Strengthen Your Weaker Leg
Have you ever injured your ankle or knee? Do you (or did you) play a…