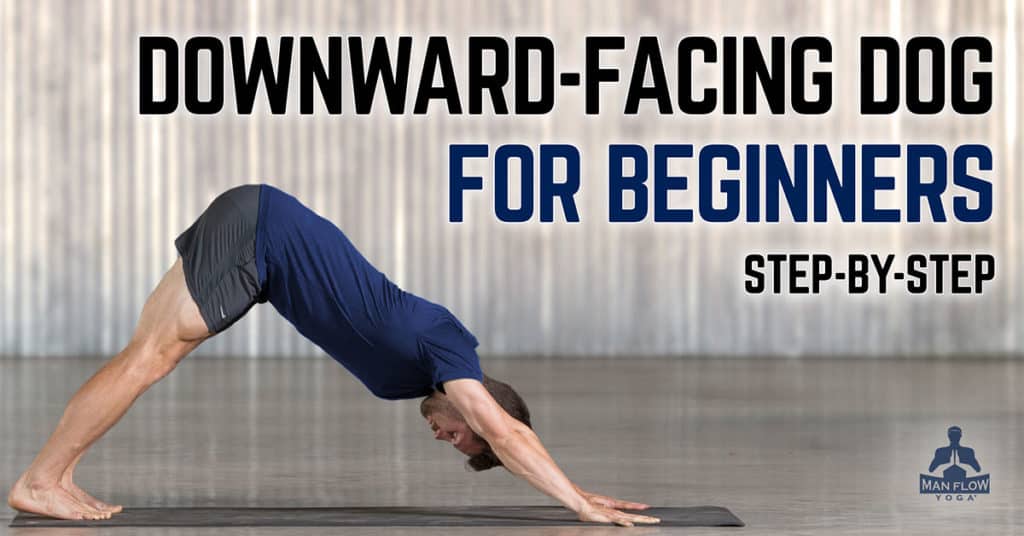
Downward-facing Dog is one of the most quintessential and recognizable yoga poses in the West – and for good reason. It’s great for stretching the calves and hamstrings, properly aligning the spine, improving shoulder mobility, and strengthening your hips, back, and core.
However, there’s one major problem. Most people do Downward Dog incorrectly. The majority of yoga instructors and participants perform this pose with stretching as the focus, where you reach your heels down and push into the ground with your hands.
That’s okay at best. But if you really want to reap the major benefits and get DEEPER into your stretch, you have to make down-dog an active muscle-engaging pose. I’ll show you how!
Benefits of Downward-Facing Dog
Downward dog has a lot of benefits, but only if done correctly and consistently. The most noticeable benefits include:
- Increasing hamstring mobility
- Improving shoulder strength
- Improving shoulder mobility
- Stretching calves to relieve ankle and knee tension
Who Can’t Do It
Because Down-dog is a slight inversion, the pose actually raises head & eye pressure to some degree. This poses a risk of damaging the optic nerve, especially for those with glaucoma. If you have glaucoma, don’t do downward dog or any inversion.
Secondly, there’s a common misconception that pregnant women shouldn’t do downward dog. However, studies have shown that this pose has little to no adverse effects on the mother’s or child’s health. That means you can safely do down-dog!
How to Do Downward-Facing Dog – Step by Step Guide
Looking for A Program?
If you’re interested in starting a yoga program with Man Flow Yoga to gain strength, flexibility, and mobility, BUT don’t know where to start, we got you covered. Give our FREE 7-Day Challenge a try. Sign-up below! Signup for the FREE 7-Day Challenge
Step-By-Step Instructions
- Start in a plank with your shoulders over your hands, core engaged, feet hip-width apart, and toes tucked.
- Lift hips to form a straight line from shoulders to heels.
- Lift your hips back and up to form a pyramid shape with your body. Focus on creating a straight line from hands to hips.
- Squeeze your upper thighs and abdominal muscles toward each other.
- Rotate biceps slightly forward to open your shoulders and release tension in the neck.
- Squeeze your arms and shoulders toward each other to engage the upper body.
- Relax your neck to look back at your feet.
- Release heels toward the floor to stretch the calves.
- Hold the posture, inhaling as you lengthen and lift, and exhaling as you deepen the stretch and increase engagement.
Pro Tip: Once you’re in the final pose, use a mirror to view yourself from the side, and focus on making your back flat. If you have trouble flattening it, walk your feet farther away from your hands, or bend your knees.
Common Mistakes in Down-Dog
The most common mistake people make with down-dog is not setting up properly or not engaging properly. Here are the mistakes broken down for you.
- Pressing Your Hips & Thighs Backwards – This makes down-dog less effective in both muscle engagement and stretching. Instead, you should focus on pressing your thighs and core together.
- Feets & Hands Too Close Together – Depending on your flexibility, you’ll place your hands and feet at different distances. If they’re too close together, you’ll be unable to properly engage and get into the shape.
Modifications for Down-Dog
Even if you can’t do a full Downward-Facing Dog right now, you can use a few modifications to practice and learn the proper muscle engagement for the pose. Here are some modifications.
Bend Your Knees
This is the go-to modification if your hamstrings and calves are on the tight side. It’s not wrong to not be able to touch your heels down onto the mat, so don’t focus on that.
Rather, bend your knees, push through your shoulders, and squeeze your upper thighs and abs together. Flexibility will come with your practice.
Painful Wrist Solution
If your wrists hurt from down-dog, you need to focus on pushing through your whole hand (palm, fingers, thumb) and externally rotating your arms to engage your forearms. If this is still an issue, you can place a towel or something similar under the heels of your hand to open up the angle of your wrist.
PS – Wrist pain is often caused by weakness. Here are some wrist exercises to strengthen your wrist and prevent injuries in the future. Learn more here!
Injured Wrist?
If you’ve had a wrist injury and putting any weight into your wrist isn’t an option, then you can try dolphin pose. It hits a lot of the same muscle cues and benefits, but you’ll be on your forearms.
PS- For some people, this pose is much harder than down-dog.
Just Not Able to Do Down-Dog? – Take A Step Back
If Downward-Facing Dog is just completely not doable for you, then you can do these variations. After a while, you’ll develop the strength, flexibility, and muscle coordination to perform down-dog properly.
Downward-Dog on The Wall
This pose teaches you how to engage your legs, how to push with the shoulders, and has a slight hip hinge to stretch your hamstrings. As with down-dog, you should also try to squeeze the core together to really reap the benefits.
Downward-Dog on A Chair
This is the next progression after using the wall. As you develop mobility and flexibility, you’ll be able to slowly progress towards the ground and a standard down-dog.
Downward-Dog on Blocks
You’re close! You can use the blocks at different height settings to progress towards a full downward dog.
Remember, it’s perfectly okay to bend your knees to accommodate your tight hamstrings and calves. Focus on keeping the hinge at your hips and properly pushing through the shoulders.
Want to Learn More About Proper Yoga Techniques?
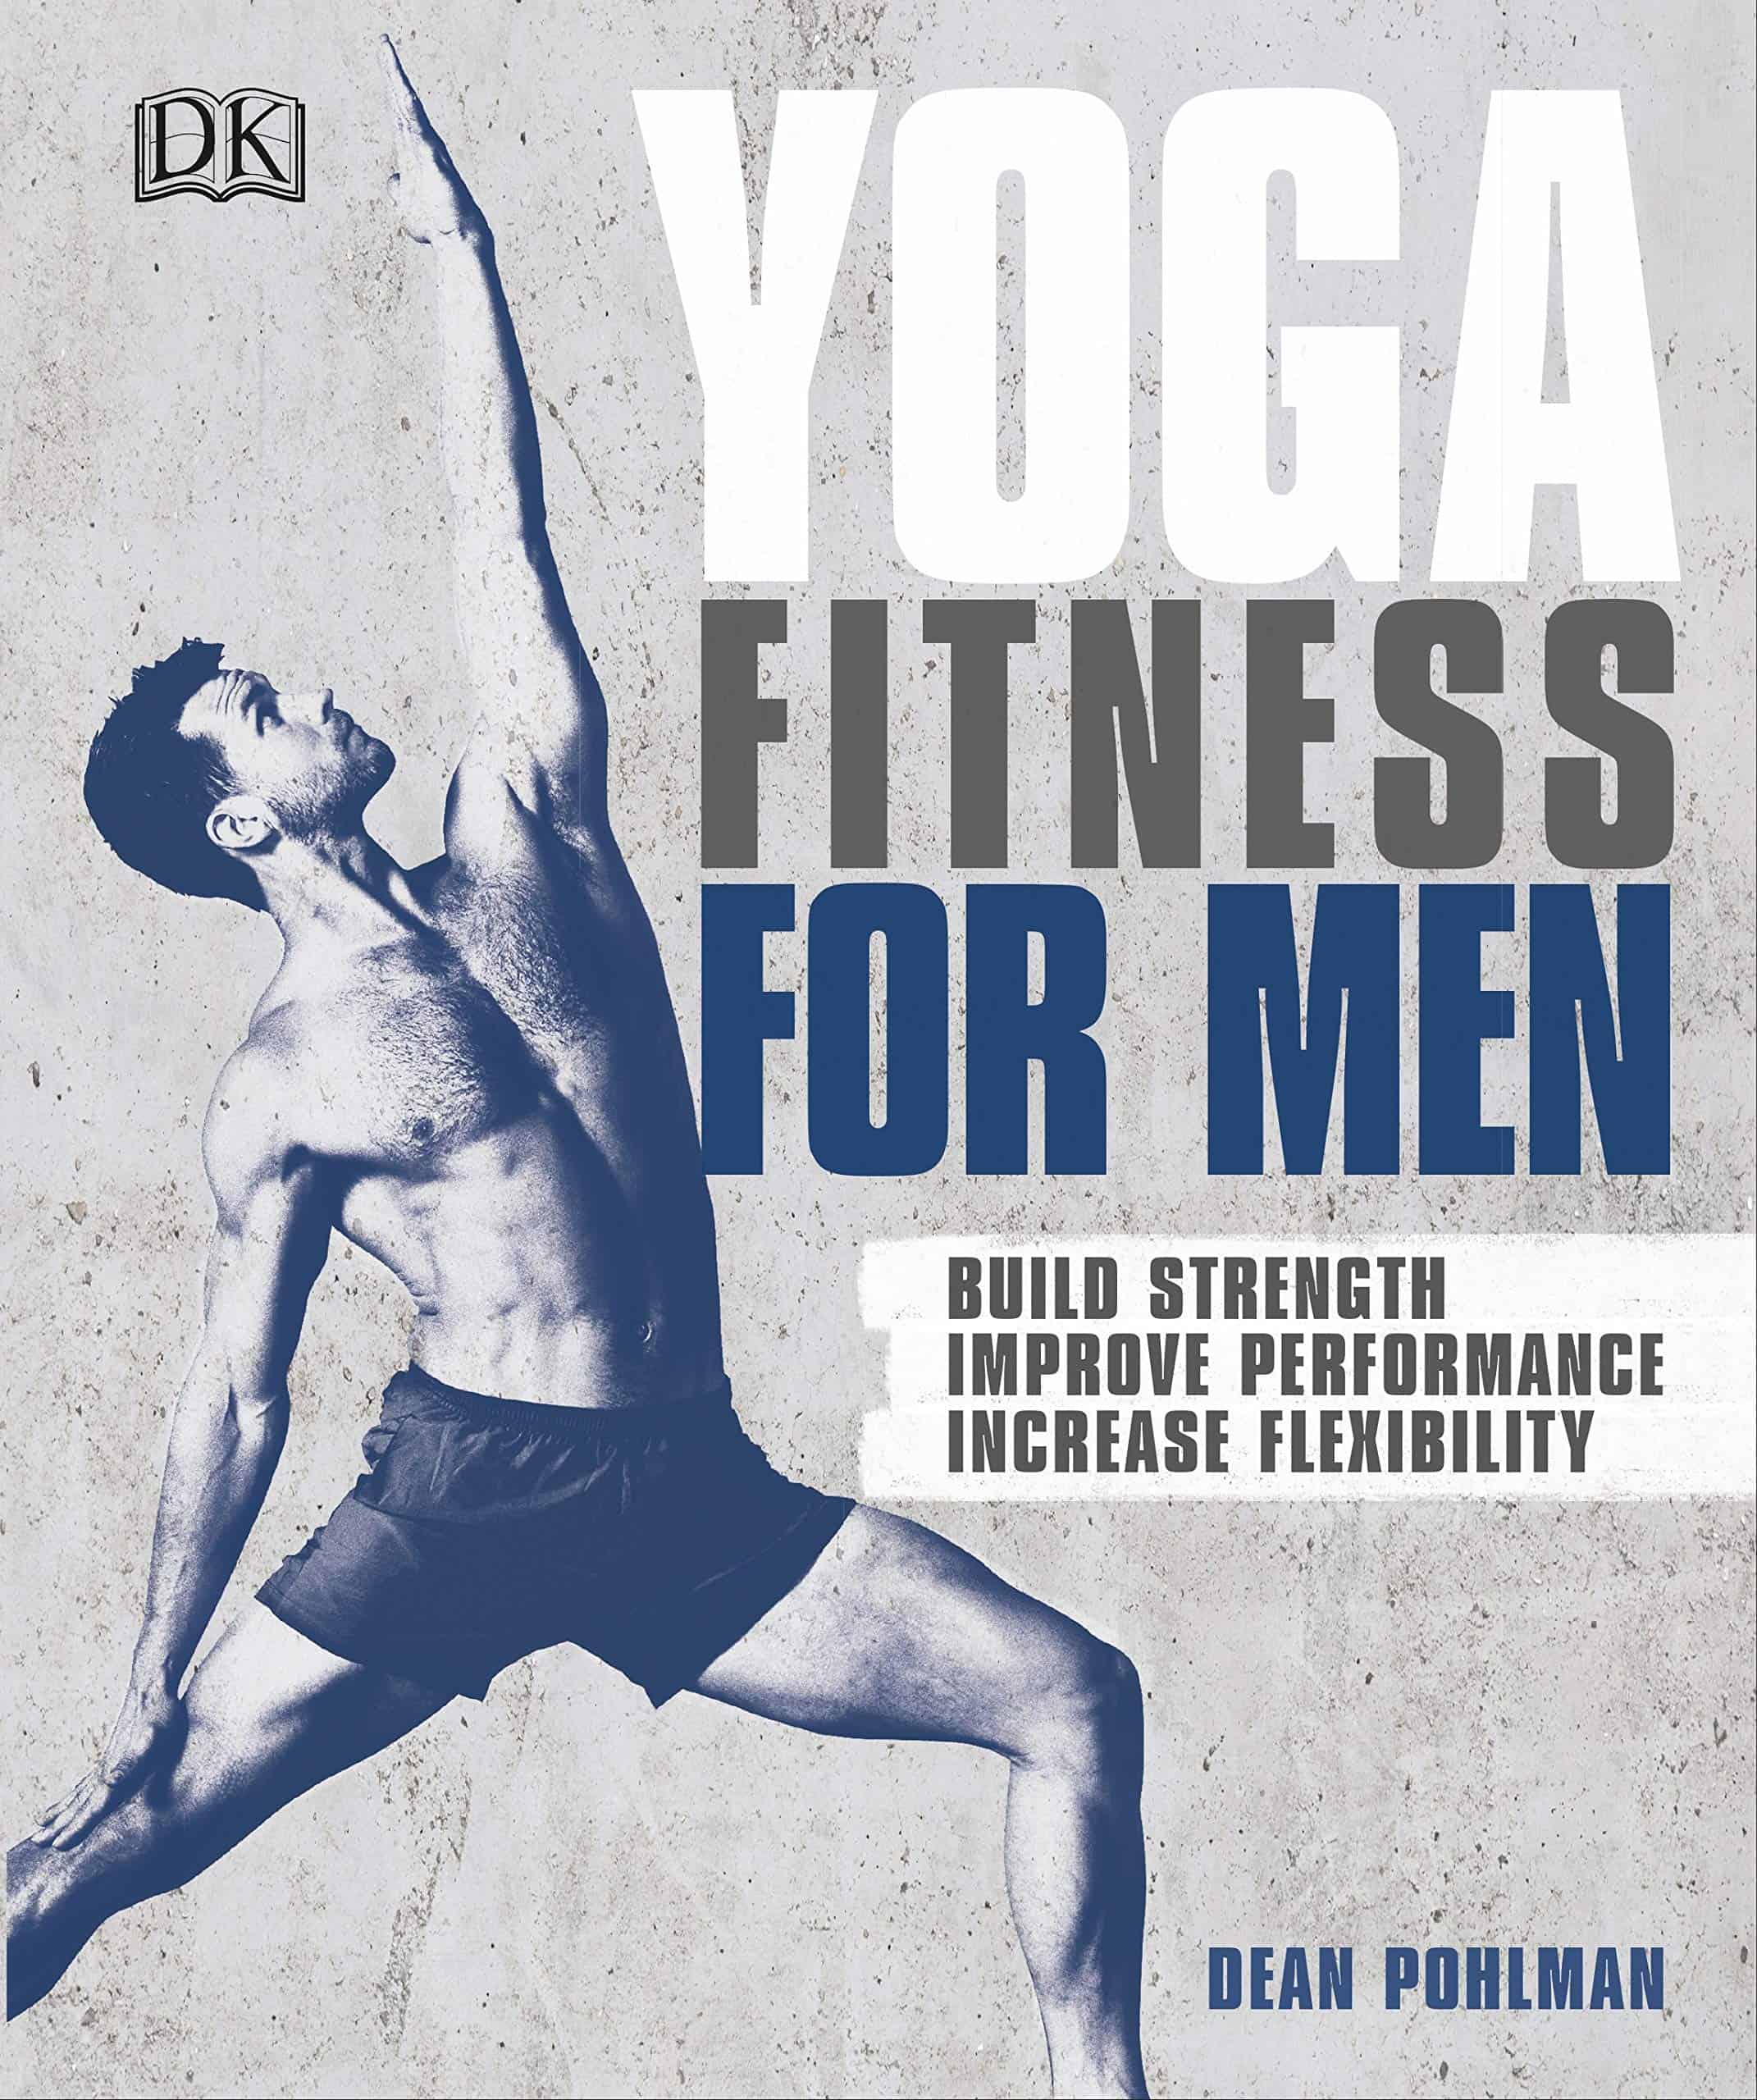
Learning proper yoga techniques and muscle engagement doesn’t have to be hard. In fact, all of the techniques above are from my book “Yoga Fitness for Men”. It’s a great comprehensive book that goes over how to execute the yoga postures you need for greater endurance, flexibility, balance, and strength. If you’re interested in the full-color, step-by-step photographic yoga book check it out HERE!
Here’s what you’ll find in this amazing beginner’s guide:
- 25 yoga workouts, and over 50 key postures so yoga can make you stronger, fitter, and more mobile.
- Visual modifications show you how to tailor the pose for your body.
- A dashboard for every post explains what you should and shouldn’t be feeling in your body while doing the pose.
- Workouts and multi-week programs tailored to your specific performance and health goals.
Additional Resources
About the author, Dean Pohlman, Founder & CEO of Man Flow Yoga, Author of Yoga Fitness for Men, Expert on Yoga Fitness for Men.

Looking for non-spiritual, yoga for men workouts?
Learn More About Man Flow Yoga and how it can help you with your fitness goals:
 Join Today for Instant Access!
Loved this post! I’ve always struggled with Downward-Facing Dog, but this step-by-step guide made it so much clearer. My scarederdos disappeared and I was able to get into the pose easily for the first time. Thanks for sharing!
That’s awesome! So glad you found this tutorial helpful.
This post is incredibly helpful for beginners! I love how you broke down the steps for Downward-Facing Dog and offered tips to avoid common mistakes. I feel more confident trying this pose now. Thank you for making yoga accessible!